You don't design a tattoo in one prompt.
The mental model that trips most people up: type "wolf tattoo" into a generator, expect a tattoo. What comes back is a generic illustration — not bad, just impersonal. The reason is that good tattoo design is iterative, not one-shot. AI changes the time it takes, but not the structure.
This is how to actually use an AI tattoo generator end-to-end — five phases, what each one is for, and what AI can't help with at each step.
Phase 1: Make the idea concrete enough to generate
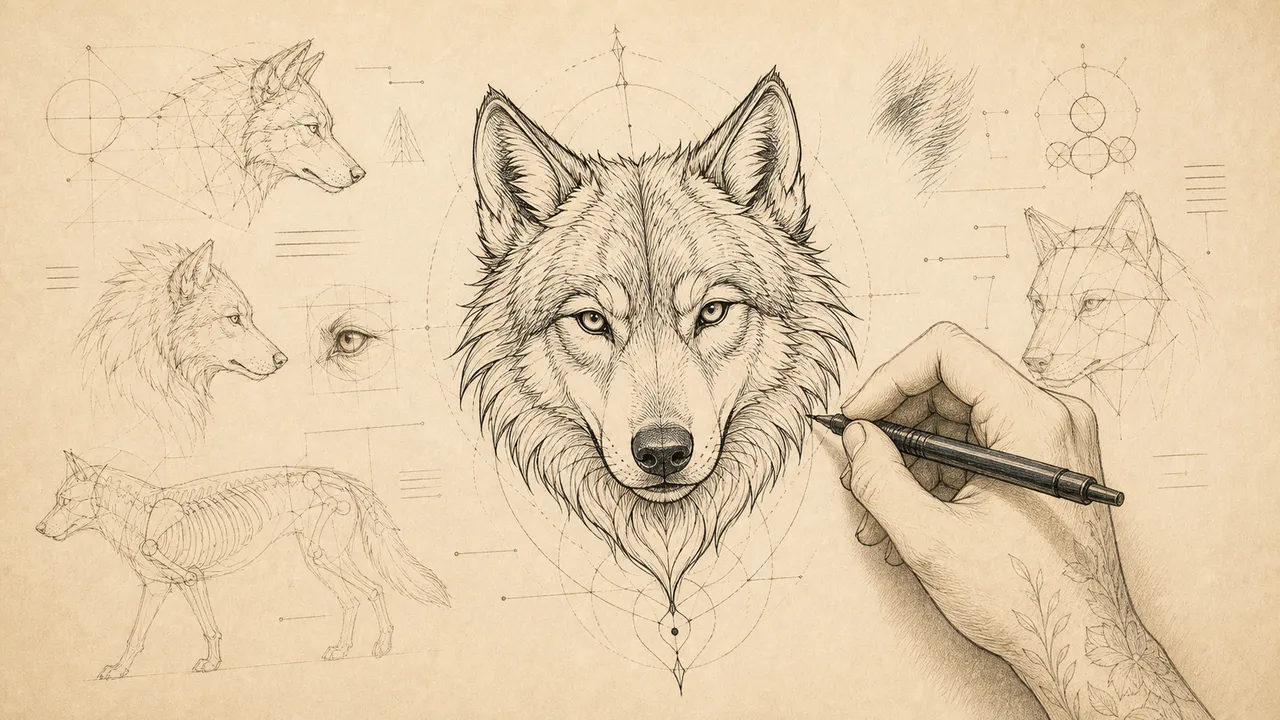
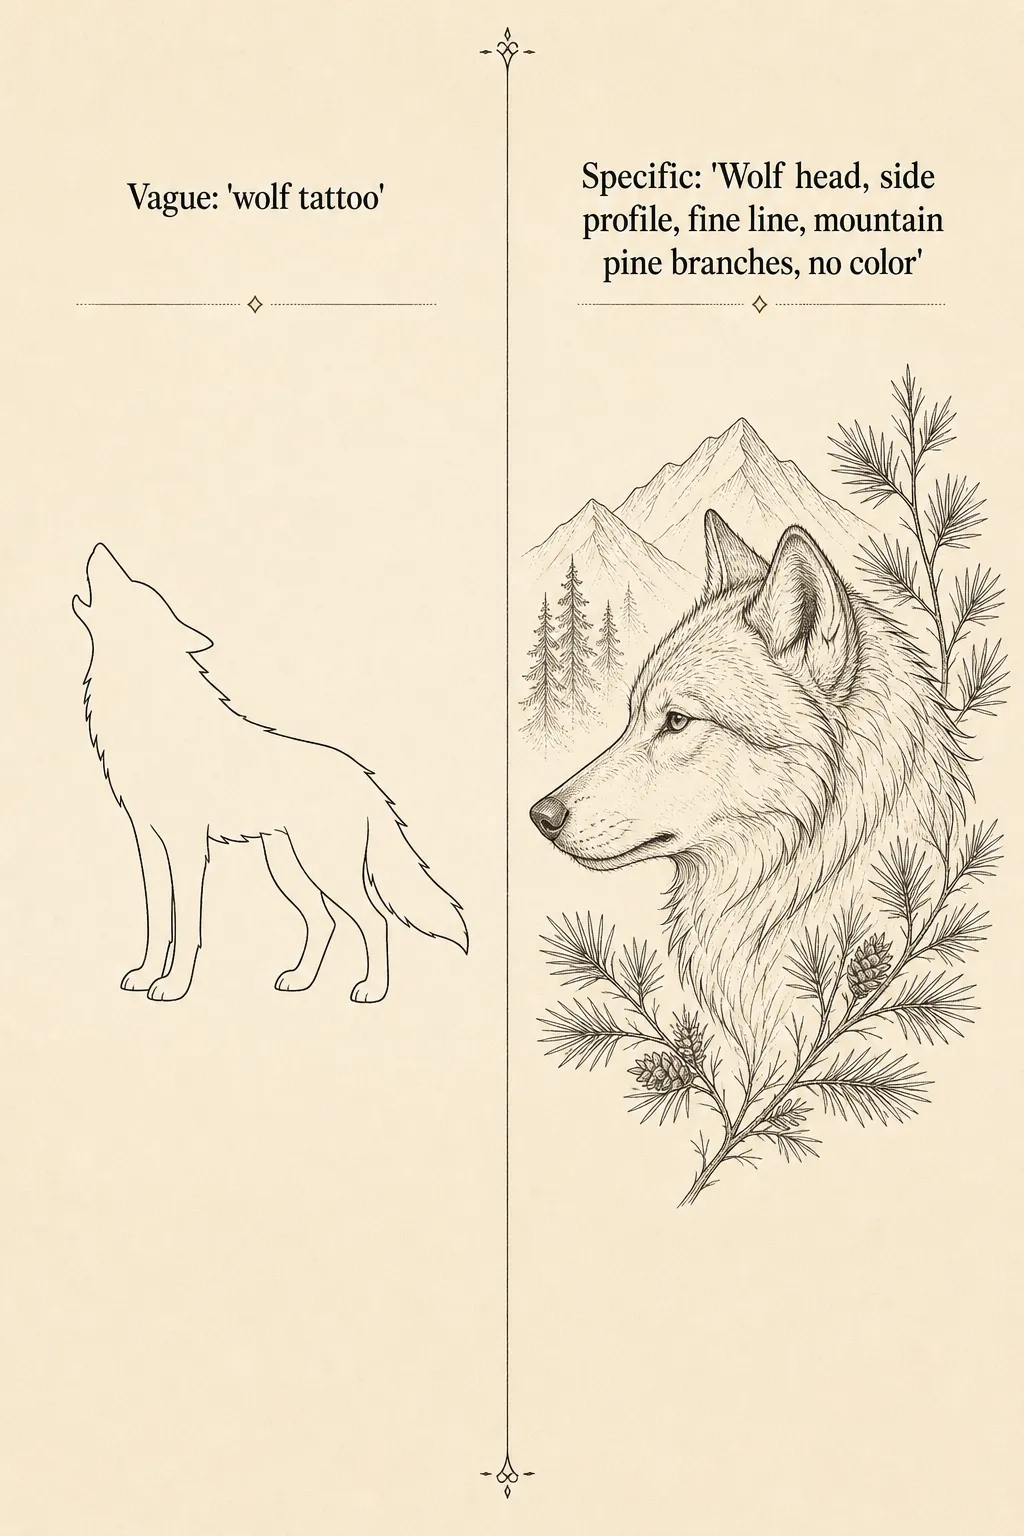
The single biggest predictor of a good first generation is how specific your prompt is. "Wolf tattoo" gives you generic. "Wolf head, side profile, fine line, surrounded by mountain pine branches, no color" gives you something to react to.
Three things to nail before you type:
1. The thing. Not just the subject — the angle, pose, mood. "Lion" is one prompt; "lion head facing forward, eyes open, regal posture" is another.
2. The framing. Standalone subject vs. surrounded by florals vs. inside a frame vs. with text. AI defaults to the cleanest interpretation, which is rarely what most people actually want.
3. The aspect. Forearm and ribcage tattoos are vertical compositions; chest pieces and lower back are horizontal. Pick the aspect that matches your placement before generating, not after — you can change it later, but you'll spend credits regenerating.
Open the generator at InkedByAI and you'll see Inspiration chips at the top — five categories of pre-built prompts (Animals, Flora, etc.) you can use as starting points if your blank-page brain is locking up. They're not destinations; they're springboards.
Phase 2: Pick the style before you click
InkedByAI ships with 22 tattoo styles, surfaced as Style chips above the generate button. Pick one (or sometimes two) before generating, not after.
The most common mistake here: people pick "fine line" because it sounds delicate, then realize halfway through iteration that their subject (a dragon, say) is fundamentally a blackwork piece. Switching styles mid-iteration loses momentum — you can do it, but you're effectively starting Phase 1 over with a different visual vocabulary.
A quick subject-to-style cheat sheet (not exhaustive, just a starting point):
- Florals, single-line script, small symbols → Fine line
- Bold animals, traditional flash, Americana → Traditional
- Dragons, koi, wave panels → Japanese / Irezumi
- Geometric, sacred geometry, mandalas → Blackwork or Geometric
- Hyperreal portraits → Realism (use a higher Quality setting)
- Soft, painterly, color washes → Watercolor
If you've already gone through our placement guide and picked an outer thigh or back piece, your style options are wider — the canvas can handle complexity. Forearm or wrist? Lean simpler.
Phase 3: Generate, react, iterate
This is where most authors give up too early.
The first generation is rarely the keeper. It's a probe — you're learning what the model heard from your prompt. Look at it for 10 seconds, then ask:
- Did it nail the subject? (If no → add detail to the prompt)
- Did it nail the style? (If no → pick a different Style chip or weight it harder in the prompt)
- Is the composition right? (If no → tweak aspect ratio or add framing words)
- Color or no color? (If you're getting unwanted color, add
monochrome black ink— InkedByAI's prompt scaffolding prefers black/grey but doesn't force it)
Generate again. Compare. Free tier ships with 6 credits on signup, enough to test a handful of directions before deciding to top up.
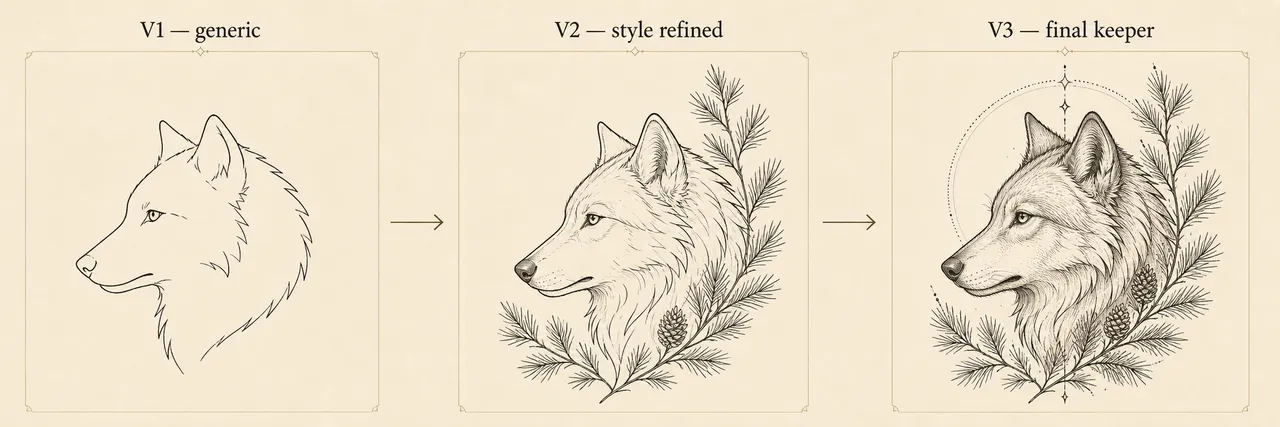
Generation history lives at /activity/ai-tasks — every run you've ever made, sorted by date. Treat it as your sketchbook. Authors who ink their best work usually have somewhere between 8 and 15 iterations on file before they pick a direction. Patience and good design correlate.
The trap to avoid: tweaking the prompt 10 times in a row instead of stopping to look at what came back. AI generations are signal — they tell you what your prompt actually said, vs. what you meant. Read the signal.
Phase 4: Refinement — pick one, sharpen it
Once you have a generation that's directionally right (subject + style + composition all in the right ballpark), stop generating new directions and start refining.
Refinement is mostly prompt surgery:
- Add the missing detail (
with a small crescent moon above the subject) - Remove what's noisy (
no background pattern,no border) - Specify what was implicit (
centered composition, balanced negative space) - Tighten the aesthetic reference (
classical American traditional flashvs. justtraditional)
Each refinement run should look 80% like the previous keeper, with the 20% you're trying to fix. If the generation breaks the parts you liked, your prompt change was too aggressive — back off and try a smaller tweak.
A note on Quality settings: Basic is fine for iteration. Switch to Standard or HD only when you're close to the keeper — higher quality takes longer and costs more credits, no point spending those on probe generations.
Phase 5: Reality check before you book
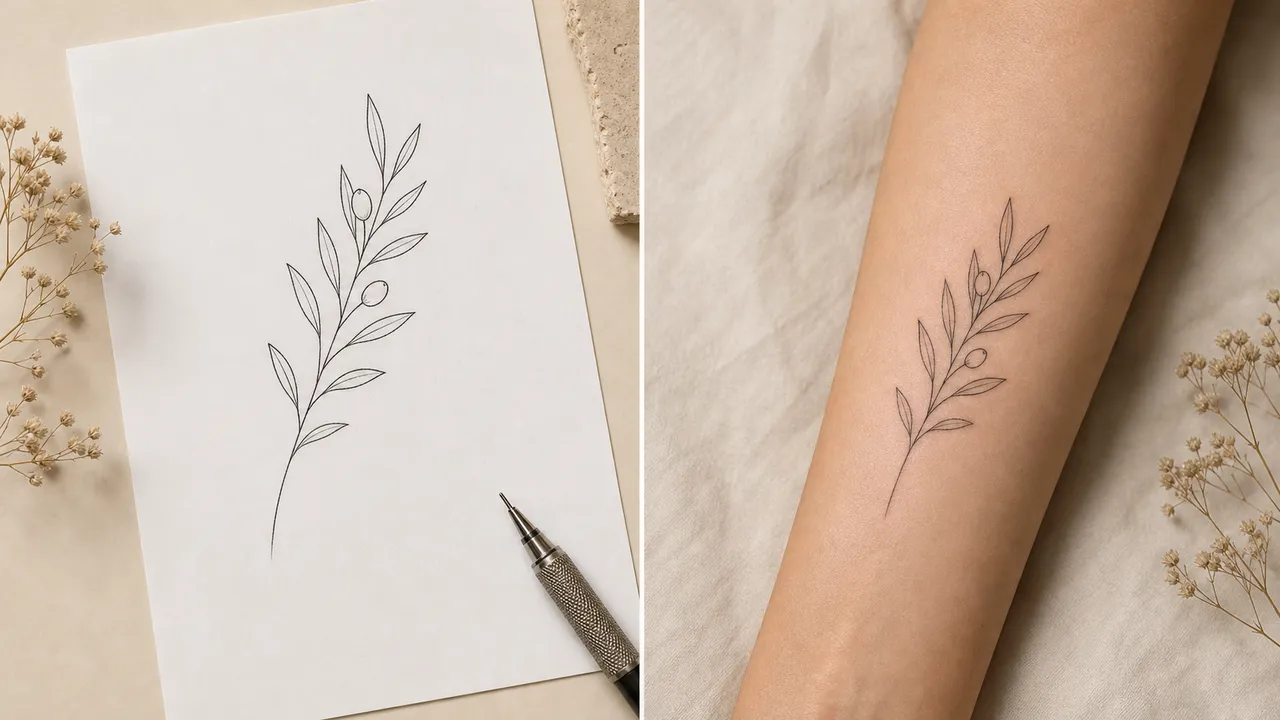
A tattoo design that looks great as a square JPEG can look strange on actual skin. Before sending the file to an artist:
1. Print it at actual size. Use thermal transfer paper or just plain paper. Tape it to the placement you've chosen. Look in a mirror, take photos, sit with it for a few hours. Designs that look balanced on screen sometimes feel "off" once they're on a curved surface.
2. Show the artist. They'll see things you missed — line weights that won't hold up over time, areas where the shading will blur in 5 years, proportions that won't follow the muscle correctly. AI doesn't think about how skin ages; tattoo artists do.
3. Treat the AI design as a brief, not a blueprint. The best workflow we've seen: author brings the AI design to the consultation, artist redraws it (sometimes substantially) based on what will actually look good on that body, then inks the artist's interpretation. The AI got the idea unstuck; the artist made it tattooable.
What AI doesn't do well
Being clear about limitations:
- Reading your skin tone, body shape, or scars. The model designs in 2D; you live in 3D.
- Understanding longevity. What looks good at year 1 vs. year 15 is artist territory. AI optimizes for "looks good now."
- Replacing the consult. The conversation between you and your artist about meaning, placement, and style isn't replicable by a generator.
- Telling you what you want. AI is a brainstorming partner that needs you to know what you're brainstorming about. "I want a tattoo, surprise me" is the wrong starting prompt.
Who this works for
If you've already got a rough idea (subject + vibe + placement), AI design will save you days of back-and-forth in the artist's reference inbox. You'll show up to the consult with 3–5 directions instead of "I dunno, something cool."
If you don't have a rough idea, AI won't manufacture one for you. Spend time on Pinterest, look at what speaks to you, then come back. The tool waits.
If you're an artist using this with clients, the workflow flips: generate live in the consult, narrow together, then redraw. Some studios we've talked to report this cuts consult time roughly in half — whether that holds across the industry is something we'll know once more shops have tried it.
Got an idea you want to start iterating on? Open the generator → — Free tier gives you 6 credits on signup, no card required.
